
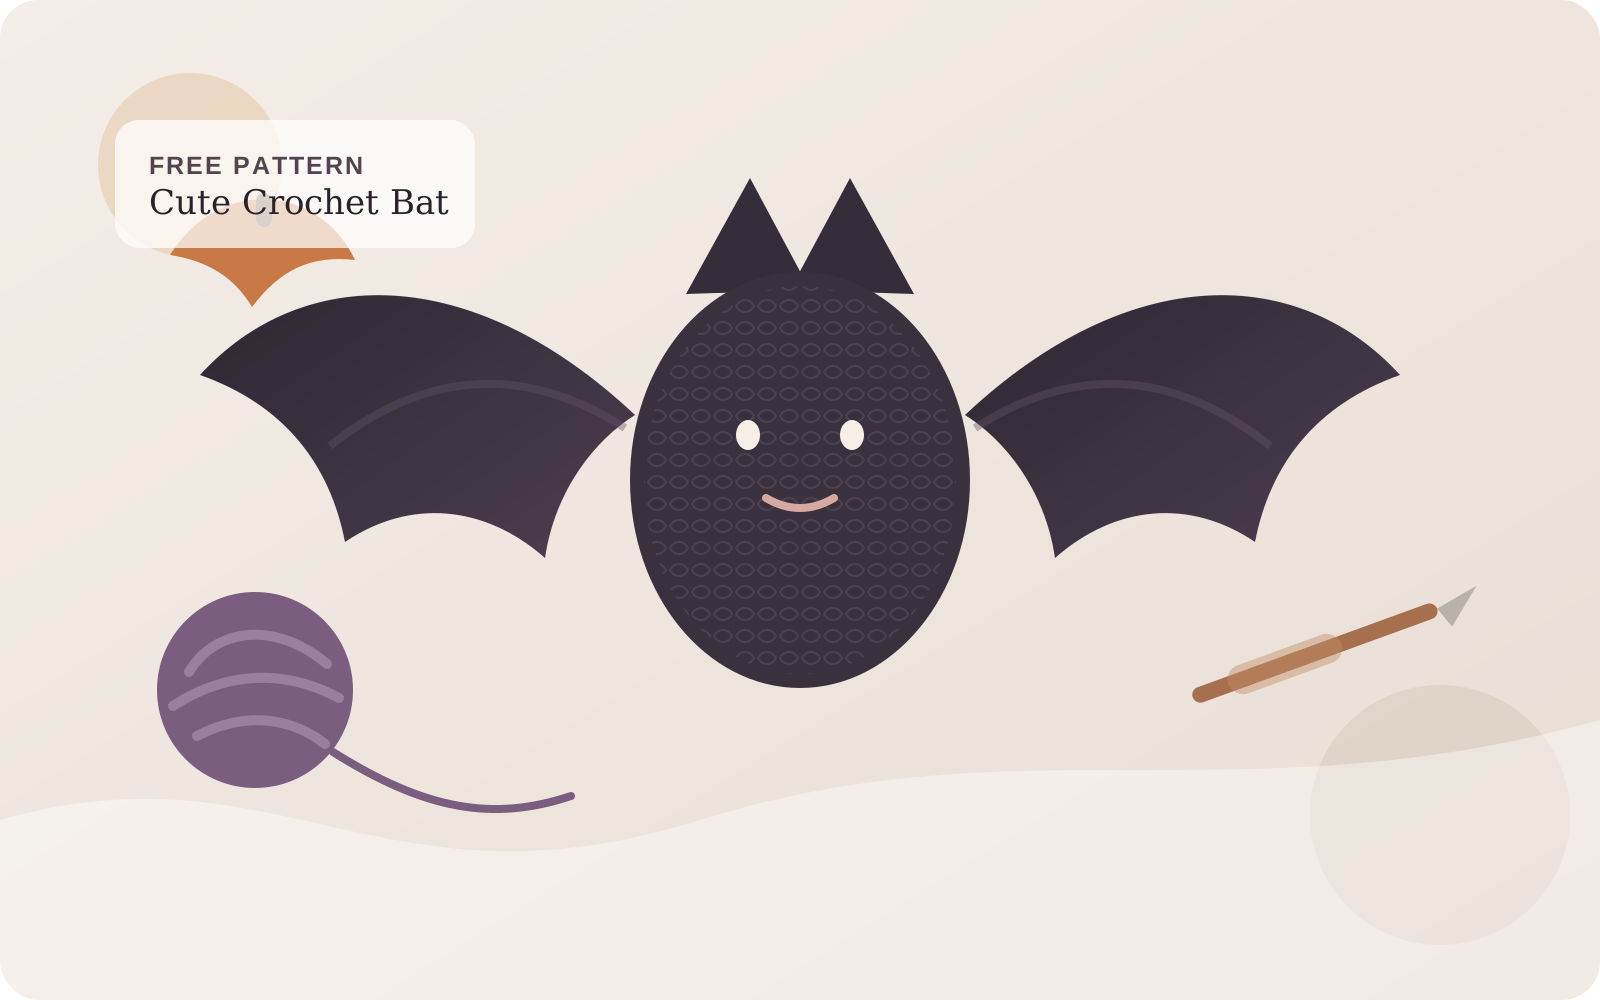
A tiny crochet bat is one of those Halloween projects that looks detailed without needing a huge amount of yarn. This version uses a simple round amigurumi body, two shaped wings, and small pointed ears, so you can make one for a fall garland, desk decoration, gift topper, or spooky-cute display.
The pattern is written in US crochet terms and is designed to be approachable if you already know single crochet and basic increases and decreases.
Pattern at a glance
- Skill level: Confident beginner
- Terminology: US crochet terms
- Construction: Body worked in continuous rounds; wings and ears made separately
- Yarn: DK or light worsted yarn in black, charcoal, plum, or another bat color
- Hook: 3.0–3.5 mm, or a size that gives you a firm fabric
- Also needed: Fiberfill, yarn needle, stitch marker, scissors and optional safety eyes
- Finished size: About 9–12 cm wide depending on yarn, hook and wing placement
For a decoration intended for a baby or very young child, embroider the eyes instead of using safety eyes.
Abbreviations
- MR: magic ring
- ch: chain
- sc: single crochet
- inc: 2 sc in the same stitch
- dec: invisible single-crochet decrease
- sl st: slip stitch
- st/sts: stitch/stitches
Before you start
The body is worked in a spiral, so do not join at the end of each round. Place a stitch marker in the first stitch and move it up after every round.
Keep the tension fairly tight. Amigurumi fabric should be dense enough that the stuffing does not show between stitches.
Crochet bat body
Start with your main bat color.
- Round 1: 6 sc in MR. (6)
- Round 2: Inc in each st around. (12)
- Round 3: [Sc 1, inc] 6 times. (18)
- Round 4: [Sc 2, inc] 6 times. (24)
- Rounds 5–8: Sc in each st around. (24)
- Round 9: [Sc 2, dec] 6 times. (18)
- If using safety eyes, place them between Rounds 6 and 7, approximately 5 stitches apart.
- Begin stuffing the body, keeping the shape rounded rather than overfilled.
- Round 10: [Sc 1, dec] 6 times. (12)
- Add the final small amount of stuffing.
- Round 11: Dec 6 times. (6)
Fasten off, leaving a tail. Thread the tail through the front loops of the final six stitches, pull the opening closed, and weave the end into the body.
Make two pointed ears
For each ear:
- Ch 4.
- Starting in the second chain from the hook, sl st in the next chain, sc in the next chain, then sc in the final chain.
- Fasten off with a long tail for sewing.
Pin the ears to the top of the body before sewing. Angle them slightly outward to create a clearer bat silhouette.
Crochet the wings
Make two.
- Ch 7.
- Starting in the second chain from the hook: sl st, sc, half double crochet, double crochet, double crochet, sc.
- Ch 3 to form the lower point of the wing.
- Working back along the opposite side of the foundation chain, sc in the next stitch, double crochet in the next two stitches, half double crochet in the next, sc in the next, and sl st in the last.
- Fasten off, leaving a long sewing tail.
The wing should have a narrow top, a fuller middle and a pointed lower edge. If your yarn makes the wing too floppy, use a hook one size smaller for the wings.
Assembly
Position one wing on each side of the body with the top of the wing around Round 5. The pointed section should angle slightly downward.
Sew each wing firmly along its inner edge. Avoid sewing the entire wing flat against the body; leaving the outer section free gives the bat a more dimensional shape.
Sew the ears to the top. If you are embroidering the face, add two small eyes and a tiny mouth using contrasting yarn or embroidery thread.
Easy ways to customize your bat
The same base pattern can look completely different with small changes. Try dark purple for a softer Halloween palette, grey for a natural-looking bat, or cream and orange accents for a playful fall version.
You can also add a small hanging loop to the top and use several bats in a Halloween garland. For a bag charm, keep the body firmly stuffed and attach the loop through several stitches rather than a single stitch.
Troubleshooting
Stuffing is visible through the body
Your tension may be too loose for amigurumi. Try a smaller hook without changing the yarn, and avoid stretching the fabric by overstuffing it.
My bat is becoming hexagonal
This can happen when increases line up directly above one another. Gently shape the finished piece with your fingers. For future bats, you can stagger the increase positions while keeping the same stitch count.
The wings curl too much
Lightly reshape them by hand. If they still curl strongly, check that you did not accidentally add or skip stitches along the foundation chain.
One wing looks higher than the other
Pin both wings before sewing either one permanently. Count the body rounds and use the same attachment points on both sides.
Frequently asked questions
Is this crochet bat pattern suitable for beginners?
It is best for a confident beginner. The body only uses basic amigurumi shaping, but you should be comfortable working into a magic ring, counting continuous rounds, increasing and decreasing.
Can I make the bat with plush yarn?
Yes. Plush yarn will create a larger bat and can hide individual stitches, so use stitch markers carefully and choose a hook that keeps the fabric dense.
Can I turn it into a Halloween ornament?
Yes. Before closing the body, secure a strong yarn loop through the top stitches. Make sure the loop is anchored through several stitches if the bat will be handled often.
Can I make it without plastic eyes?
Absolutely. Small embroidered eyes work well and are the better option when making the bat for young children.
What to crochet next
If this is one of your first small amigurumi projects, practice the adjustable starting loop with our magic ring guide, then explore more mini crochet projects and seasonal patterns on CraftsChain.
A mini bat is fast enough to make in multiples, which makes it especially useful for Halloween garlands, small gifts and last-minute fall decorations.