
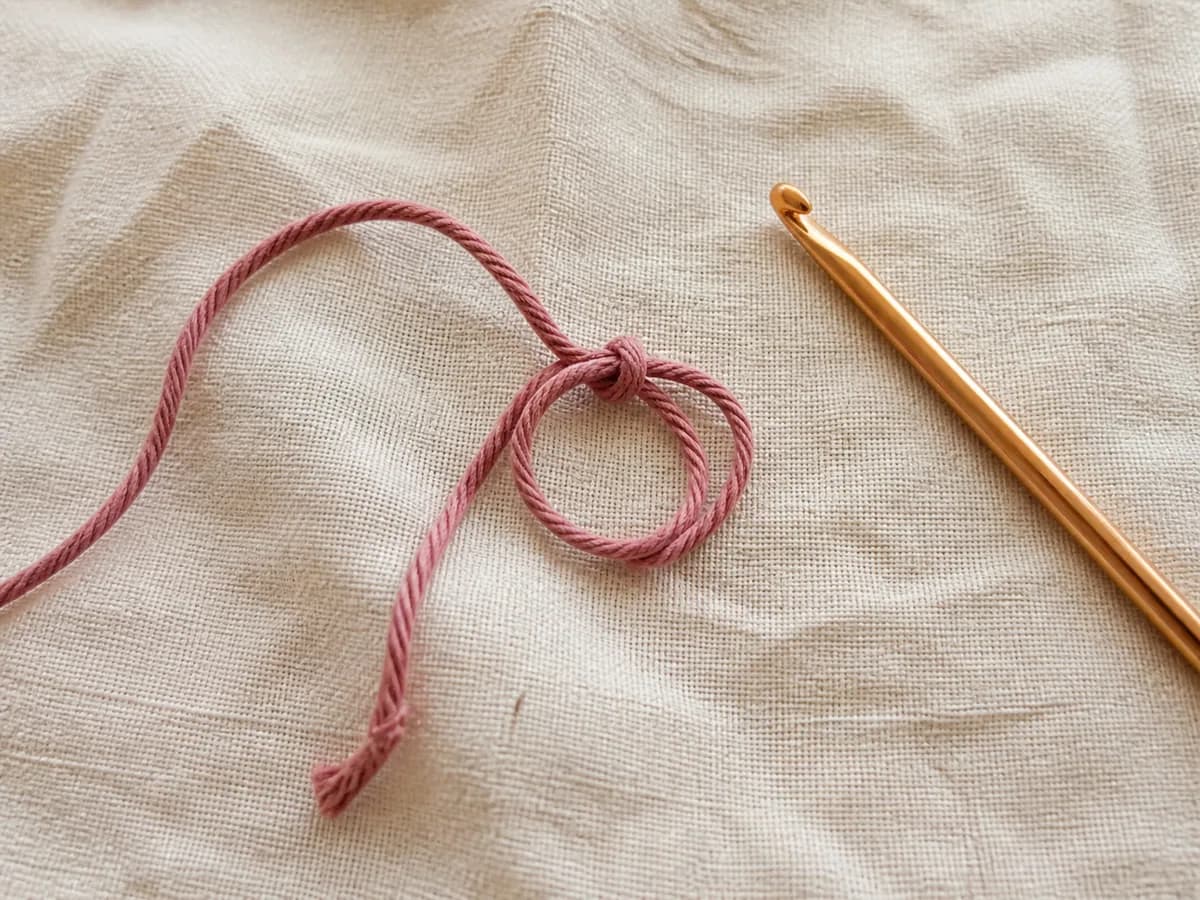
Almost everything worked in the round starts here: flowers, hats, amigurumi heads, doilies, granny circles. The magic ring — also called the magic circle or adjustable ring — lets you start with a loop you can pull completely closed, so the centre of your work has no hole in it.
The alternative, chaining 4 and joining into a ring, leaves a gap. On a hat that gap is a flaw. On an amigurumi head, stuffing comes out of it.
Making one, step by step
- Drape the yarn over your left hand with the tail hanging down and the ball end running over your fingers.
- Wrap the yarn around two fingers to form a loop, crossing the ball end over the tail. Which strand crosses on top is the whole trick: the working yarn must sit on top, so pulling the tail closes the ring.
- Hold the crossing point between thumb and middle finger. From here on, that pinch keeps the ring from collapsing.
- Insert the hook into the loop, front to back, catch the working yarn, pull it back through. One loop on the hook.
- Chain 1 to secure it. This chain is not a stitch and is never counted.
- Work your first round into the ring itself, over both strands of the loop. Six single crochets is the standard amigurumi start; flowers often use eight, ten or twelve.
- Pull the tail firmly. The centre draws closed like a drawstring bag.
Where beginners lose it: the hook goes into the ring, not into the yarn. Every stitch of round one is worked over the doubled loop, the way you would crochet over a piece of cord. If your stitches are landing in individual strands, the ring will not close.
Why it comes undone — and the two real fixes
This is why people abandon the technique. You finish a perfect amigurumi, and weeks later a hole opens at the centre because the tail crept back through. The ring is held closed by friction alone, and friction loses eventually — especially with slippery yarn such as mercerised cotton or acrylic.
Fix 1: lock the tail as you work
After closing the ring, do not leave the tail hanging. Lay it along the top of round one and crochet round two over it, exactly as you would carry a colour. Six stitches of that is enough — the tail is trapped under a row of stitches and cannot slide.
Fix 2: weave it in against the pull
When you weave the tail in at the end, change direction at least twice and split the plies of the yarn as you go. A tail woven in a straight line will work its way out; one that turns corners will not. Trim it, but leave at least an inch — never flush with the fabric.
For anything a child will handle, use both securing methods. Toys get pulled, chewed and washed. Crochet over the tail, weave it back in more than one direction, and inspect the centre regularly for loosening. Follow the relevant toy-safety requirements for materials and construction.
When to use the chain-2 method instead
There is an honest alternative, used more often than tutorials admit. Chain 2, then work all of round one into the second chain from the hook.
It leaves a very small hole — much smaller than the chain-4 ring — and it can never come undone, because there is nothing to pull loose. For flowers, coasters, mandalas and anything where the centre is covered by a button, a bead or a second layer of petals, this is the better choice. Save the magic ring for pieces where the centre must be genuinely invisible.
Round one without losing your place
The ring closes, and then round two begins in a spiral with no join and no landmark. Put a stitch marker in the first stitch of every round — a proper marker, a safety pin, or a contrasting scrap of yarn. This is not beginner advice; it is what everyone does, permanently.
Then count. Round one should have exactly the number of stitches the pattern states, and if it does not, this is the cheapest moment in the whole project to start again.